


Description
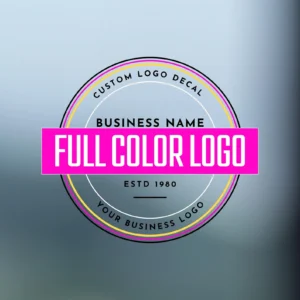
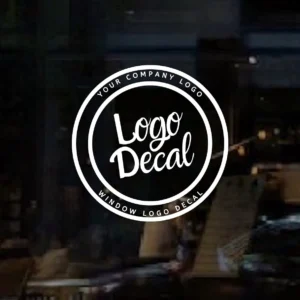
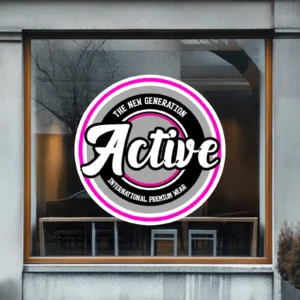
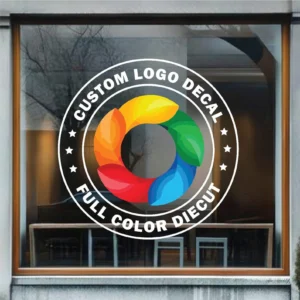
Best Seller- Business Logo decal – Custom Window Decal – One Color Business door Decal Logo – Window Decals – Car logo decals – logo Decal- custom vinyl decal- door sign – window graphics
INSTRUCTIONS:
- Send your artwork via email to gpnyinc@gmail.com
- Send a vector format, which is a PSD, EPS, or .pdf.
- Please also include your order number in this email.
- After you place your order, we will email you a design proof for your approval.
- Once an order has been approved, we typically process and ship within 3-5 business days.
Please let us know in a personalization or message if you’d like the decal to go inside the glass, as it will need to be reverse-cut.
The decal will be cut to be placed on the outside of the glass, unless otherwise specified.
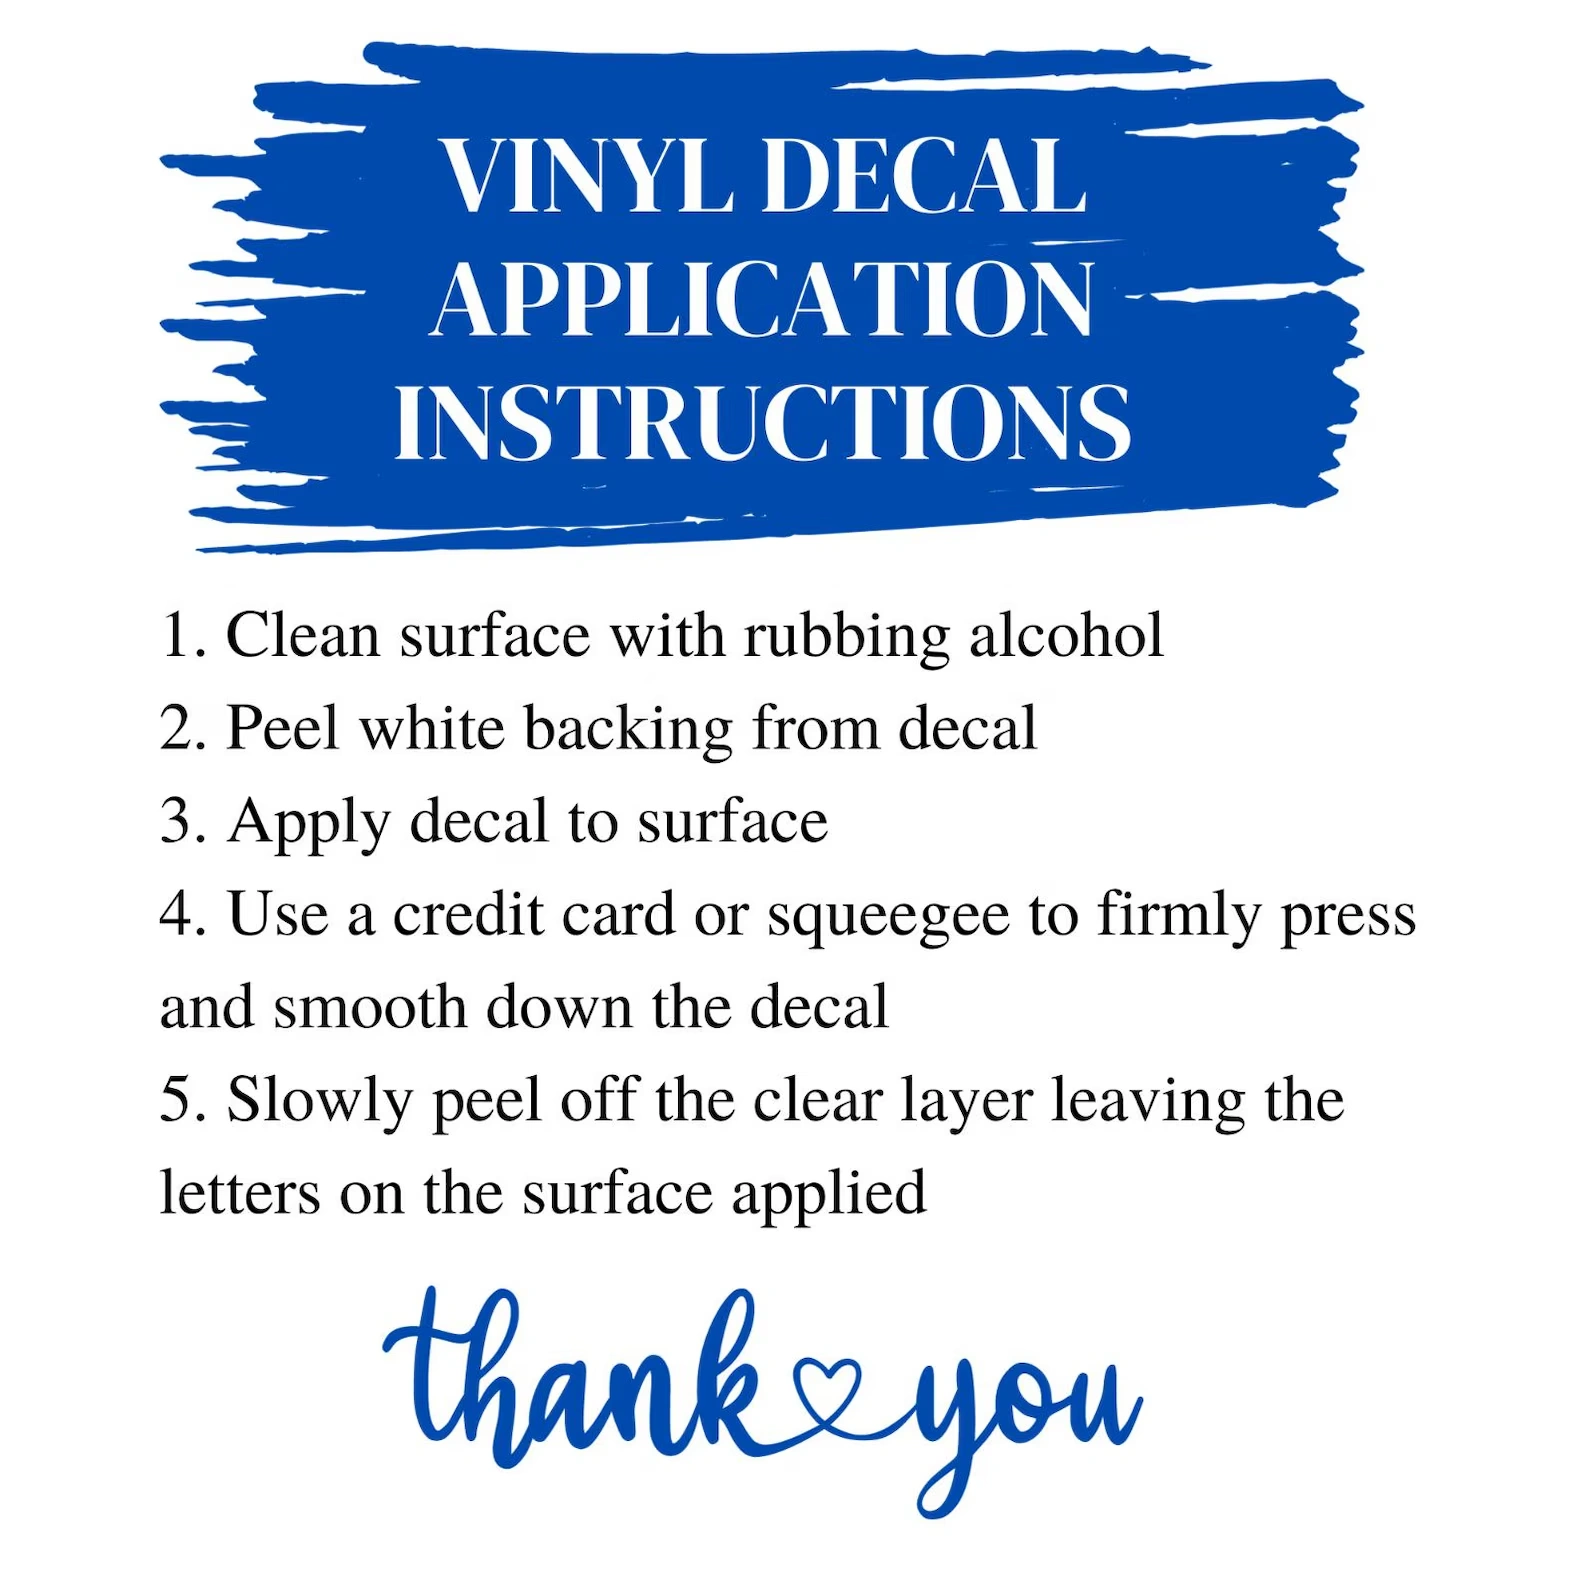
Application Steps: (Professional Installation Recommended)
- Clean the application surface with soap and water or rubbing alcohol (70% isopropyl alcohol). The area must be dry before application
- Squeegee the decal on a flat surface to assure it is stuck to the transfer tape and ready for installation.
- Hold up the decal to the desired location. Then, put a piece of masking tape down the middle of the decal. The tape should start above the decal and go all the way down through the center and below the decal.
- The masking tape will be used as a hinge for installation. Carefully peel back the transfer tape with the decal on it from one side of the decal, either the left or right side. Hold the transfer tape back while tearing or cutting away the backing paper.
- Carefully lay the transfer tape back down to your application surface, starting from the center and applying outward using light pressure with your squeegee from the middle to outside.
- Remove the. Repeat steps 4 and 5 for the other side of your decal, completely removing the backing paper with this final side. Then firmly squeegee your entire decal from the middle to the edge.
- Now that your decal is installed with the transfer tape still on top. Slowly peel back the transfer tape from a corner of your decal, holding the transfer tape as flat and low as possible for the easiest application.
- Enjoy your perfectly applied background-less decal for a clean, professional appearance.
Professional installation is recommended. Thank you!